
COD MW4 Stranded Walkthrough
Campaign spoilers. Route follows dkdynamite’s October 16 original recording; briefing, interactions and return scenes were inspected. The recording includes material before and after Stranded, so timestamps are recording positions, not a mission timer.
Stranded starts after the crash-survival sequence, when Park’s squad takes shelter and Ko provides the Tac-Map. Complete all three marked targets in any order: recover explosives from the Abandoned Bunker, disable the Clifftop Jamming Station and destroy the SAM site. Then return to Base Camp and confirm you are ready to leave. Optional keypad rooms help exploration but are not substitutes for those three mission objectives.
Start from Base Camp after Survivors
The previous crash sequence leaves Park and the squad sheltering with wounded soldiers. After Ko arrives, the briefing identifies the explosives bunker to the south, the mountain jammer and the island SAM threat. At this point use the marked Tac-Map rather than following the video’s opening airborne scene as if that were already free exploration.
The squad explains that all three targets must be dealt with before the air-base assault. You can travel with your ally directly or search for equipment and meet at the target. The inspected run chooses independent exploration; its extra outpost fights are not a mandatory objective order.
Use the section for the objective still shown on your HUD. A completed locked container or repaired Base Camp item does not, on its own, clear the bunker, jammer or SAM objective.
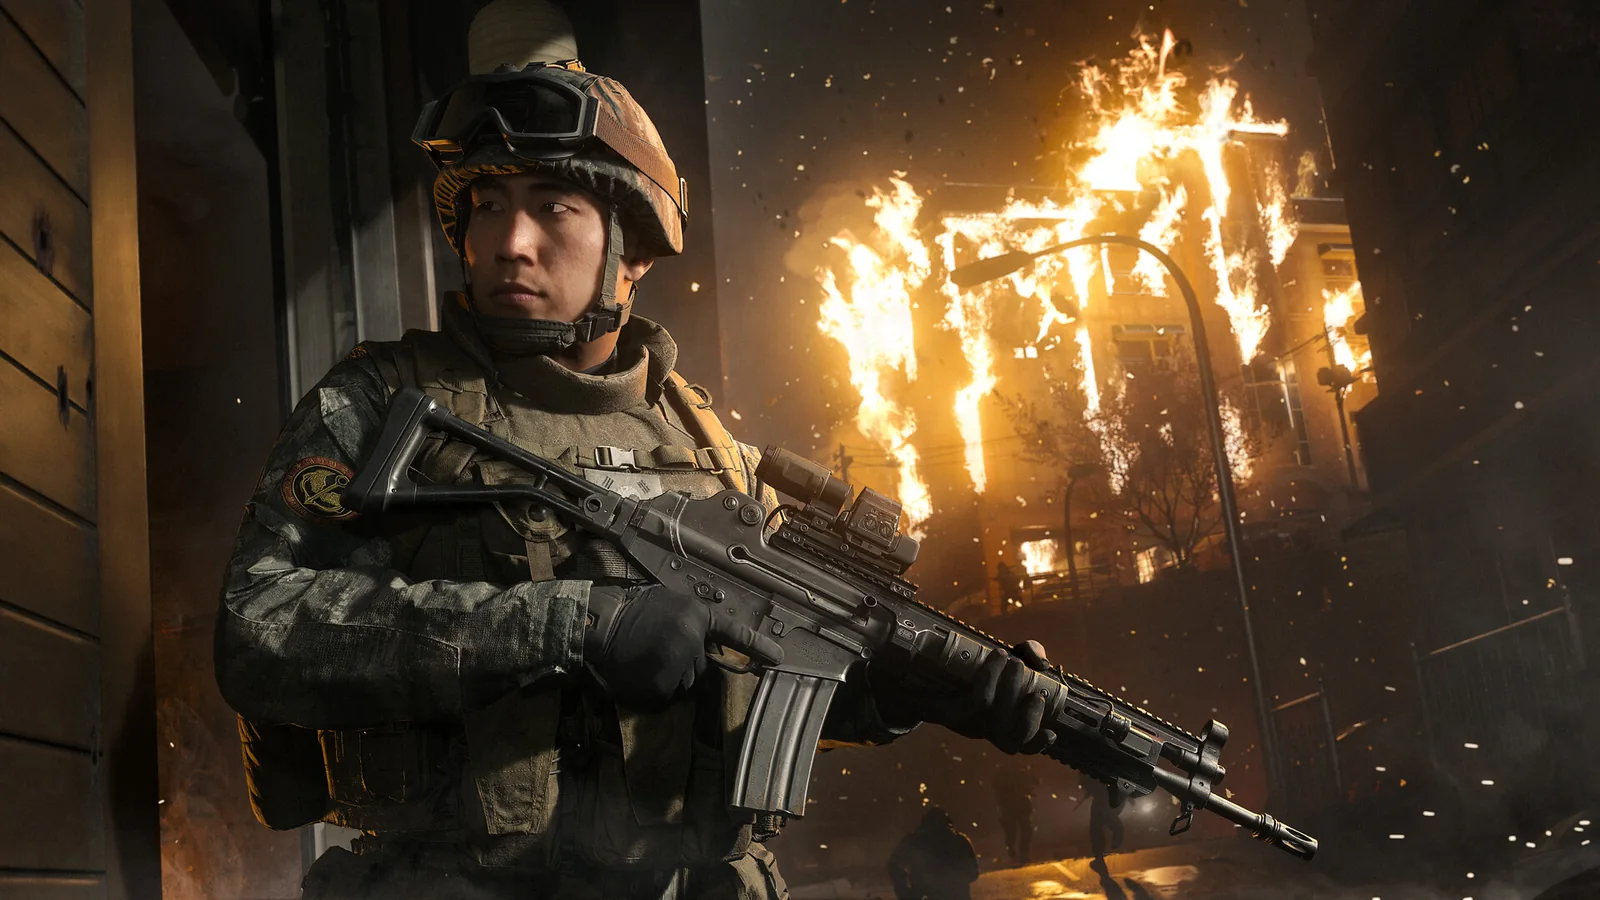
Abandoned Bunker: power, explosives and exit
Enter beneath the guarded outpost
Approach the marked bunker outpost, clear the immediate entry and find the large grey building. Help lift the hatch and descend with your ally. The recording shows the approach around 30:59.
Restore the door power
Follow the interior route toward the submarine bay. When its door has no power, track the yellow cable through the floor opening and clear the lower route. Find and operate the generator, then return to the bay door. The cable is visible at 33:38; the generator interaction follows around 36:00.
Collect all three explosives crates
Continue to the munitions depot near the submarine bay and search the marked crates. The dialogue calls for more after the first and one final crate after the second. Deal with the incoming reinforcements and finish the third pickup; the first crate alone does not complete the objective.
Follow the north exit and climb out
Once the explosives are secured, follow the north-door route through the flooded section. Rearm where the ally directs you, clear the guards beyond the door and use the ladder back to the surface. This route avoids trying to force the earlier unpowered door a second time.
Clifftop Jamming Station: reach and disable the platform
Reach the tower through the adjacent building
Use the marked mountain approach. The source warns that the main road leaves you exposed; continue through the building beside the tower and clear it before going outside to the platform.
Take the drone operator’s tablet
At the tower, defeat the drone operator and secure the tablet. Use the available bomb drones against the incoming threats as instructed rather than searching for an unrelated launcher.
Open the centre panel
Once directed to disable the jammer, interact with the panel in the centre of the platform. The inspected 57:25 interaction shows the opened unit; this is more than merely reaching the top.
Bring down the attacking helicopter and leave safely
Use the bomb drones against the helicopter, following the repeat-hit callouts. Wait for the jammer-destroyed confirmation and the return/exploration choice before treating this target as complete.
SAM site: prepare defenses and detonate
Cross to the marked island and move up
Approach the SAM objective on the island. Clear the houses and covered route with the squad, then take the strongpoint by the statue when reinforcements gather.
Use the available equipment to hold the site
While charges are being set, cover the other approach routes. The source calls out mines and a thermal-scoped rifle in the position; the 64:30 scene shows the thermal sight during defense. Watch the vehicle approaches.
Use explosives against the armored threat
When the BMP arrives, use the available explosives rather than treating ordinary rifle fire as the objective solution. Continue until the charge-setting and rally instructions advance.
Rally at the safe distance for detonation
Move to the squad’s marked rally point when called. The recording waits for Park before the countdown, then confirms the targets destroyed. An uncleared rally instruction can leave you standing near a completed fight without finishing the objective.
Return and recognise the departure point
After the remaining objective, take the return option or go back to Base Camp yourself. The recording shows the return conversation and Cho’s death, then Ko asks whether Park is ready. He warns that leaving ends the opportunity to continue in this area.
Finish any detour you want before confirming readiness. The next briefing describes the North Korean air base, explosives placement and fuel reserves: that is the transition toward Defection, not a fourth open-map Stranded target. If you are still being told to rally at an objective, return to that marked spot instead of looking for an exit helicopter.
The Campaign walkthrough picks up at the airbase. For Kal’s visible Stranded unlock requirement, use the reward comparison.
Optional locked areas have their own answers
The eight-lock Stranded reference identifies each container or bunker by landmark and clue. In particular, the Farm Field bunker and hidden island bunker are optional keypad puzzles; they are not the Abandoned Bunker explosives mission above.
Use the Big Sign answer if your note follows the zero-replacement sequence. Optional yellow supply crates and notes are exploration targets. This mission route does not claim to provide a location-by-location 100% collectibles itinerary.
Sources & scope
An independent editorial reference compiled from the sources below. This site does not claim firsthand gameplay testing.
- dkdynamite: Stranded original mission recordingOctober 16 Campaign Early Access recording, including the preceding crash and following briefing. Three-target briefing, bunker power and supplies, jammer panel, SAM defense and return scenes inspected at matched timestamps.
- Ford James, Polygon: Stranded keypad puzzlesOctober 21, 2026 original written guide; eight lock identities, clues and results.
- Activision: Campaign Early AccessOctober 16, 2026; qualifying digital editions, campaign and rewards.
Source material checked: . This is a source-check date.
Useful next reads
- Campaign walkthrough & missions — Follow all 16 MW4 Campaign missions from starting situation to objective sequence and completion, with help for Graves, the airbase, reactor and keypad detours.
- Stranded code lookup — All eight keypad answers in Polygon’s Stranded guide, with the correct lock, clue rule and contents kept together.
- Hidden island bunker — Use 0008 at Stranded’s river-checkpoint bunker, identify it separately from the small-island container and understand the clue.
- Farm Field bunker — Use 0330 at the logistics-station bunker in Stranded, with the right clue and a clear distinction from the river bunker.
- Big Sign code — Open Stranded’s Big Sign shipping container with 1234 and distinguish the zero-replacement clue from the other keypad puzzles.
- Campaign completion rewards — Check the reward for each of MW4’s 16 missions, resolve the Kal/West/Park unlock-name conflict using recorded menus, and verify missing items in Multiplayer or DMZ.