
COD MW4 Campaign Walkthrough & Missions
Full story spoilers. Main-objective route based on October 16, 2026 Campaign Early Access recordings; the complete reference run was recorded on PS5 Pro.
Play the sixteen missions in the Campaign’s displayed order, from Mayhem to Greater Good. The main route below gives each mission’s starting situation, the actions that advance it and its finishing scene. Stranded lets you choose the order of its three targets; the wider Campaign still returns to a fixed mission sequence.
Mission order and recording chapters
Use Continue for your current checkpoint. Use mission select to revisit a completed chapter; select the mission by name rather than trying to reorder the story’s flashbacks. Read any replay/save warning before confirming, especially for Stranded’s optional exploration.
The recording links below are chapters in Gamer’s Little Playground’s edited playthrough, not estimates of how quickly you should finish. Jump to a mission heading for the written route.
On a small screen, scroll the table sideways to read every column.
| # | Written route | Starting thread | Main completion goal |
|---|---|---|---|
| 1 | [Mayhem](#mayhem) · recording | Park · Hajin | Block the invasion tunnel |
| 2 | [Out in the Cold](#out-in-the-cold) · recording | Price · New York | Finish the Makarov pursuit |
| 3 | [Following Orders](#following-orders) · recording | North Korean soldier · village | Finish the defector search and final order |
| 4 | [Hired Gun](#hired-gun) · recording | Price · French rail depot | Defeat Graves in the air and on foot |
| 5 | [Losing Ground](#losing-ground) · recording | Park · Hajin | Withdraw from the café to the evacuation route |
| 6 | [Traffic](#traffic) · recording | Price · Paris | Survive the vehicle and foot chase |
| 7 | [Gone Dark](#gone-dark) · recording | Price / Gaz · Mumbai | Reach the rooftop encounter |
| 8 | [Assassins](#assassins) · recording | Ri Seung-ho · palace | Reach the bunker office |
| 9 | [Survivors](#survivors) · recording | Park · North Korea | Reach shelter with the injured Cho |
| 10 | [Stranded](#stranded) · recording | Park · Base Camp | Finish three targets and leave with Ko |
| 11 | [Defection](#defection) · recording | Park / Jae / Dunn · airbase | Plant and detonate the launcher charges |
| 12 | [Counter Attack](#counter-attack) · recording | Park · Hajin | Rescue hostages and support the City Hall assault |
| 13 | [Escape](#escape) · recording | Price · prison | Free Ghost and open the truck exit |
| 14 | [Entrenched](#entrenched) · recording | Park · front line / power plant | Open the emergency valve and evacuate |
| 15 | [Decapitation](#decapitation) · recording | Park · palace | Eliminate the bunker target and extract |
| 16 | [Greater Good](#greater-good) · recording | Price · convoy / forest | Catch the Archer and finish the final encounter |
1. Mayhem
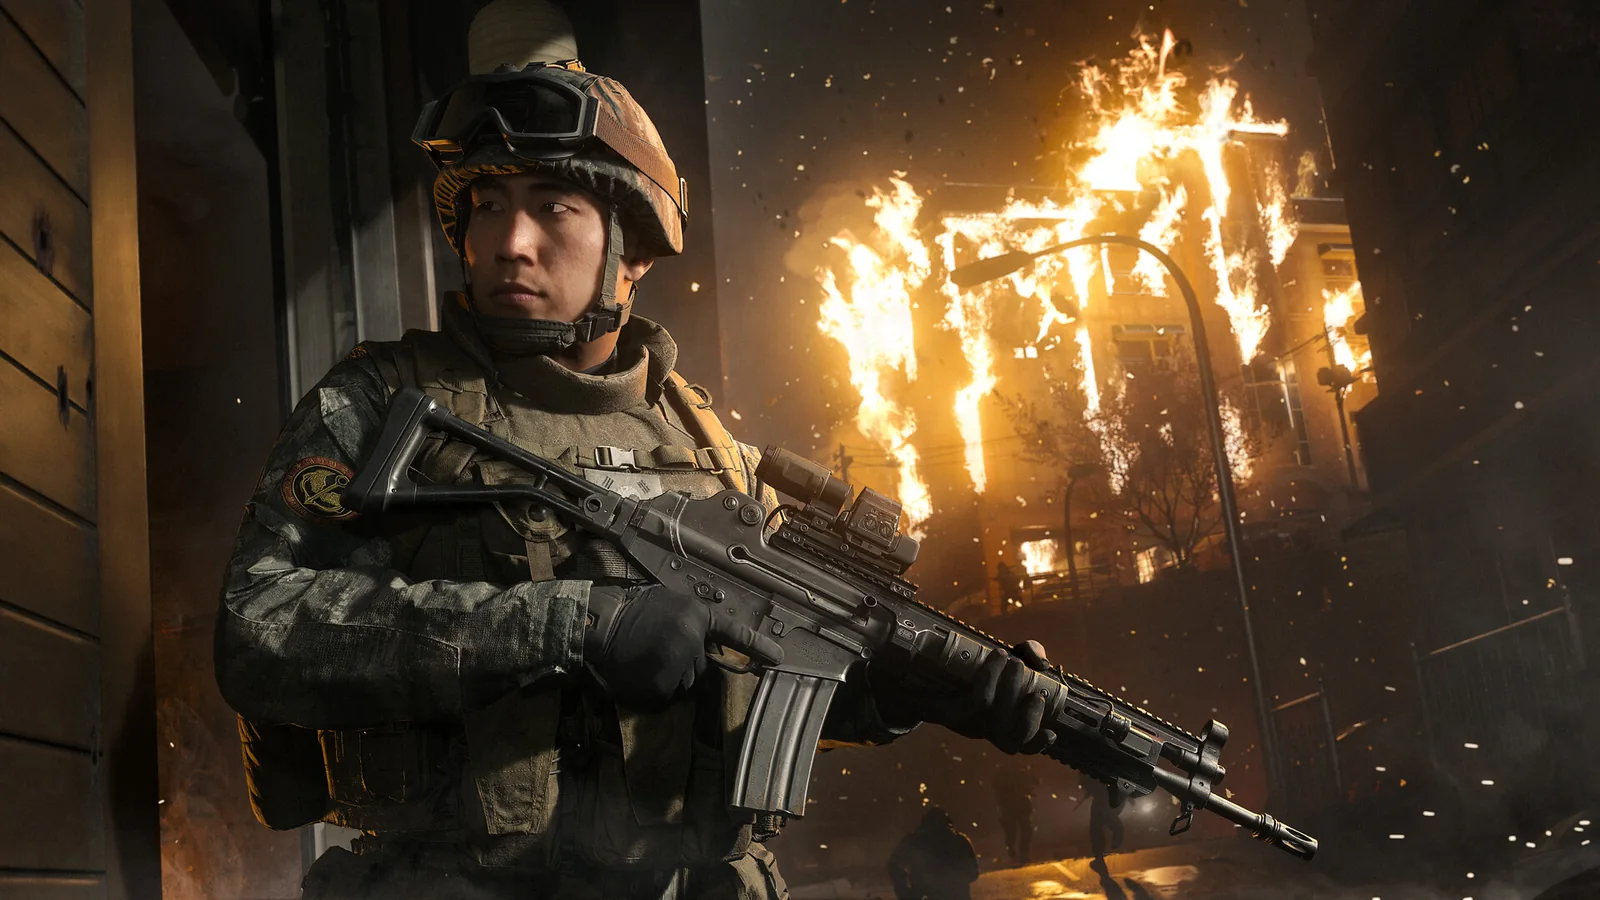
Start as Park on a night patrol in Hajin. Stay with the squad through Goh Mart; after the blackout and explosion, the route changes into an evacuation and defense.
- Follow the squad through the damaged streets into the baseball stadium. Fight the landing troops, then move through the stands to the restaurant and repel the infantry there.
- Follow the investigation outside. Go prone while the convoy passes, enter the underground parking area and clear the troops around the breach.
- Help move the fuel truck toward the tunnel while the squad covers it. Take the RPG beside the crates on the left and fire into the tanker when told.
- Completion: The tanker explosion blocks the tunnel and the game moves into the invasion news montage. The shopping conversation is not the mission’s endpoint.
- Fuel-truck push near 16:50; the closing montage follows.
2. Out in the Cold
Start as Price in New York, five days before the invasion. Follow the contact through Club NOX; the initial unarmed encounters introduce the melee prompts.
- Use the displayed block/parry and counter prompts on the guards. In the elevator, take the suppressed pistol and continue to the VIP floor.
- Clear the lounge, service corridors and kitchen, then reach Milena’s office. Continue after the conversation changes the objective to the pursuit.
- Follow Makarov over rooftops and construction structures toward Times Square. At the final close-range fight, parry the knife swings, counter and complete the finishing prompts.
- Completion: The pursuit ends in a scripted capture and the introduction of Valeria. Being captured here does not mean you lost the fight.
- Rooftop pursuit at 31:24; closing capture sequence at 37:42.
3. Following Orders
Play a North Korean soldier searching a village with Ko and Ri. The opening task is investigation, so search the houses rather than treating every resident as a combat target.
- Search the first house for contraband, including cupboards and shelves, then return to the resident with the evidence. The red lockbox uses 214; the kitchen note supplies the clue.
- Regroup outside and follow the search through the next houses. In the final search, check the far bedroom wardrobe for the key and open the kitchen-floor hatch.
- Finish the civilian roundup and return to the courtyard for Ri’s final order. Obeying and refusing lead to different immediate actions in the scene; both advance the Campaign.
- Completion: Let the final courtyard scene finish. A refusal is a scripted branch, not a reason to repeat the whole search to “fix” the story.
- Village search at 50:20; final order scene at 58:40.
4. Hired Gun
Price and Valeria’s train is intercepted by Shadow Company. Leave the stopped train and advance through the rail depot while keeping the package’s escort moving.
- Clear the tracks, then the warehouse and shipping-container lanes. Watch elevated shooters and the dog-attack counter prompt. Wait for the warehouse shutter interaction instead of looking for a keypad.
- Use the train as cover from helicopter fire while moving to the maintenance building. Clear both the servicing pits and upper walkways; collect the supplied armor and ammunition.
- At the turntable, take the supplied Anvil launcher and attack the helicopter between its barrages. After it crashes, continue fighting Graves on the ground. Use cover against him and the infantry, then follow him toward the rail shed.
- Completion: The rail-shed confrontation ends the mission. The helicopter crash is an intermediate milestone, not the final completion marker.
- Helicopter crash at 1:15:45, ground encounter at 1:16:45 and shed scene at 1:18:05.
5. Losing Ground
Return to Park during the defense of Hajin. Push with the squad toward the two-story café; check targets so you do not fire through friendly troops.
- Reach the upstairs defense position, restock and cover the street and elevated attackers. When the withdrawal is called, leave by the squad’s route instead of trying to hold the café indefinitely.
- Fall back through the alleys toward the bridge. Take control of the truck-mounted mortar when prompted and engage the called-out enemy positions and vehicles.
- After the attack disrupts the crossing, follow the escape prompts across the wreckage and vehicles toward the evacuation truck and tunnel. Keep moving with the squad.
- Completion: The retreat leads into the regrouping scene. Reaching the café or surviving the mortar section alone does not finish the chapter.
- Café defense at 1:24:20; post-retreat scene at 1:33:20.
6. Traffic
Start as Price riding with Valeria in Paris. The mission alternates shooting from vehicles, short foot fights and driving; use the action prompt for the current seat.
- Shoot the armed pursuers from the passenger window. After the tunnel crash, leave the wreck and advance with Valeria between the stalled vehicles.
- Drive the armored vehicle along Valeria’s route through the park and shopping area. Protect pedestrians; a civilian hit can force a checkpoint restart.
- After returning to foot combat, resupply at the police van and reach Luca’s van. Defend the rear doors. Throw the supplied C4 onto the armored pursuer, then use the separate detonation input.
- Completion: Survive until the scripted vehicle switch and getaway conversation. The armored driving section is only the middle of the chase.
- Armored-vehicle route at 1:43:00; late getaway at 1:53:40.
7. Gone Dark
Begin with Price and Valeria after the Mumbai ambush. Later control switches to Gaz’s night raid, so the changing viewpoint is part of the route.
- Stay on Valeria’s escape path through alleys, pipes and rooftops. Reach the workshop and allow the device/blackout sequence to finish.
- As Gaz, activate the prompted hybrid night vision, clear the helipad from the helicopter and descend with Ghost. Work down through the high-rise rooms and service areas with the team.
- When control returns to Price, use the melee parry and counter prompts against Ghost. Complete the Gaz hostage interaction and continue onto the rooftop/platform encounter.
- Completion: The rooftop meeting and the prisoners’ capture close this mission. Do not restart because the scene takes control away from you.
- Night-vision prompt at 2:00:40; rooftop meeting at 2:12:30.
8. Assassins
Play Ri Seung-ho during the palace coup. The route prioritizes concealment and Ko’s directions; the opening escort and later escape are separate phases.
- Stay close enough to the opening escort, then use the flowerbed/display-case cover and exterior balcony route during the attack. Follow the earpiece instructions and Shin through the next rooms.
- After Shin’s scripted encounter, pass the library patrol using the left wall, shelf cover and far stairs. The library door takes 5523. In the kitchen, use the cabinets as cover and open the exit with 7632.
- Use the garden water and cover to bypass patrols and the sniper. Reach the statue’s bunker entrance, enter 9103, descend and continue to the office. For the one-kill Pacifist route, use the detailed stealth instructions.
- Completion: Entering the secure office triggers the closing story scene. Its ambush is scripted, not proof that you entered a wrong code.
- Maka91Productions’ matched garden-to-bunker route covers the approach and final passage.
9. Survivors
Park’s transport is hit before the planned insertion. Begin with escape from the wreck and a low-visibility retreat, rather than the open-map sabotage tasks.
- Get clear of the aircraft and follow the survivors along the river toward the distant beacons. Go prone by the bank when truck searchlights pass.
- Use the rocks and stop moving while the search helicopter sweeps the route. When the carry prompt appears, pick up the injured Cho and continue with the squad.
- Follow Dunn into the abandoned house’s basement. Stay through Ko’s arrival and the conversation that identifies the three sabotage targets.
- Completion: The shelter and map briefing lead into Stranded. Do not head back toward the crashed aircraft to search for an extra required objective.
- The opening crash and shelter sequence is also in dkdynamite’s original recording; the target briefing follows.
10. Stranded
Start from the shelter/Base Camp after Ko’s briefing. The bunker, mountain jammer and island SAM target can be done in any order; all three are required before departure.
- Bunker: clear the entrance and descend. Follow the yellow cable and flooded maintenance opening to restore the generator, return to the explosives area, secure the three marked crates and take the flooded exit to the surface.
- Jammer: clear the mountain station and climb the platform. Take the drone operator’s tablet, deal with the helicopter/reinforcements and complete the central panel interaction until the target is confirmed destroyed.
- SAM: reach the island strongpoint, plant the charges, defend against reinforcements, move back to the rally point and detonate. Return to Base Camp after all three targets and tell Ko you are ready when finished exploring.
- Completion: The return conversation and departure commitment move the squad toward the airbase. Read Ko’s warning before leaving. Keypad rooms are optional detours, not substitutes for the three targets.
- Use the full Stranded objective route for the generator, jammer and SAM stages, or match a lock to its landmark.
11. Defection
The squad reaches the North Korean airbase after Stranded. Prepare in the hangar, then use the blackout and night vision to reach the mobile launchers.
- Move through the hangar route and plant charges on all three marked launcher vehicles. Finish the planting interaction even when the final position comes under attack.
- Defend the airfield through the prompted character switches: Park holds the ground position, Jae provides elevated rifle cover, and Dunn handles heavier threats. Use the available heavy weapons against mortars, armor and the helicopter.
- When the extraction helicopter lands, cross the runway and board. Use the detonation prompt after boarding; getting into the helicopter does not replace setting off the charges.
- Completion: The launcher detonation and evacuation scene complete the operation; the following Hajin briefing belongs to the next mission.
- Launcher approach at 3:35:30; evacuation scene at 3:50:40.
12. Counter Attack
Return to Hajin with Park’s assault force. Reach the shore after the landing is disrupted, then work forward with the allied armored unit.
- Use the target designator on fortified positions. Move through the restaurant/apartment route, breach the reinforced wall and clear the rooftop before regrouping below.
- After the overpass ambush, take the route through the ruined store and construction area toward the hotel. Suppress the upper windows while the allied vehicle opens the entrance. Use the elevator because the main stairs are blocked.
- Clear the guest floors and rescue the conference-room hostages without firing through them. Reach the roof, destroy the communications equipment and cover the push on City Hall with the rifle, mounted launcher and support calls.
- Completion: The rooftop support battle leads to the squad’s closing scene. The hotel breach alone is not the end of the mission.
- Hotel interior at 4:15:00, designated rooftop target at 4:20:10 and closing scene at 4:21:50.
13. Escape
Play Price escaping the prison after the convoy sequence. The first stretch is stealth through the interior, followed by a forced fight and Ghost’s rescue.
- Wait behind doorways and pillars for patrols to pass, and use the low passages. The office route near Cell 40 contains the clue for the optional wall safe: 8410.
- Continue through the boiler area, complete the close-range prompts and free Ghost. Take a weapon and fight through the laundry, barracks and armory. The safe beyond the sleeping quarters is an optional dog-tag stop.
- In the garage, cover Ghost’s truck and climb the walkways to the upper control-room route. Clear the corridor and press the red gate-control button.
- Completion: Opening the exit allows Ghost’s truck to leave; Price staying behind is part of the closing story. There is no required alternate escape tunnel to find.
- Garage fight at 4:33:40; the gate-control sequence follows before Entrenched.
14. Entrenched
Park advances through the trenches and then joins an armored push toward the power plant. Keep taking the next position as the squad calls it.
- Clear trench corners and the machine-gun bunker, then use smoke for the exposed crossing toward the relay. Join the armored vehicle and use its weapons on the called-out infantry and heavy targets.
- After the vehicle is lost, fight through the substation and reactor interior to the control room. Attempt the emergency shutdown, then follow Jae when the task switches to manual valves.
- In the flooded passage, follow the yellow pipe and hold the valve interaction until the objective changes. Return toward the squad, then use the crate, pipes and assisted climbs to reach the evacuation route.
- Completion: Opening the valve solves the shutdown blocker; you must still climb out and reach the helicopter. The evacuation/next briefing closes the chapter.
- Yellow-pipe valve interaction at 4:54:20; following briefing at 5:01:50.
15. Decapitation
Begin as Park on the helicopter’s door gun during the palace assault. The mission continues through the palace into a concealed bunker.
- Cover the approach and destroy the attacking helicopter. Land with the assault team, enter through the damaged roof and clear the atrium, galleries and corridors.
- At the blocked route, wait for Ko to reveal the passage behind the portrait. Descend into the bunker and use night vision after the power loss. Work through the cells, crawlspace and server-room route with the squad.
- At the command room’s large map, locate the reinforced concealed door. Breach with the team, eliminate the target during the slow-motion entry and wait for radio confirmation. Return to extraction and board.
- Completion: Target confirmation is followed by the helicopter exit; finishing the palace’s surface fighting does not complete the mission.
- Bunker command area at 5:16:20; the target and extraction scenes follow before Greater Good.
16. Greater Good
Start as Price in the prisoner convoy. Wait through the conversation, then use the weapon-struggle prompt when the ambush begins.
- After the crash, get out of the wreck and cut the restraints on the exposed metal. Take a rifle and clear the soldiers obstructing the route while Ghost covers from a distance.
- Follow the Archer’s marker into the forest. Keep advancing and clear immediate blockers; losing too much distance can fail the pursuit. Use trees as brief cover rather than holding one position.
- Follow the descent and slide to the frozen river. Close on the Archer and complete the finishing and subsequent close-range prompts until the final scene takes over.
- Completion: The final Price/Ghost scene and credits finish the mandatory Campaign. The later Watcher handover is a story scene, not another required combat mission.
- Forest pursuit at 5:24:50; final encounter at 5:27:10.
Find the next answer without restarting the Campaign
On a small screen, scroll the table sideways to read every column.
| Where you are | Next action | Detailed answer |
|---|---|---|
| Hired Gun: helicopter is down | Keep fighting on foot and follow Graves into the shed | [Hired Gun ground phase](#hired-gun) |
| Assassins: library, kitchen or garden | Match the room before entering 5523 / 7632 / 9103 | Stealth route and door order |
| Stranded: no powered bunker door or no exit progress | Restore the generator, secure the marked explosives and finish every target | Bunker and departure route |
| A Stranded four-digit lock | Identify its landmark; codes are not one universal bunker password | Eight-lock reference |
| Defection: extraction helicopter reached | Use the detonation prompt after boarding | [Airbase finish](#defection) |
| Entrenched: failed control-room shutdown | Follow the yellow pipe to the manual valve, hold the interaction, then evacuate | [Reactor route](#entrenched) |
| Mission complete, reward not visible | Check the mission completion and actual Operator condition in the intended mode | Campaign reward verification |
Sources & scope
An independent editorial reference compiled from the sources below. This site does not claim firsthand gameplay testing.
- Activision: Campaign Early AccessOctober 16, 2026; qualifying digital editions, campaign and rewards.
- Gamer’s Little Playground: complete MW4 Campaign recordingOctober 16, 2026 original recording; creator identifies PS5 Pro. Mission chapters and matched gameplay, objective interactions and ending scenes inspected. The edited recording is not a completion-time benchmark or a test of every difficulty.
- Nathan Reed, NowGame: original Campaign walkthroughOctober 18 original written route, including mission select/replay warnings, Following Orders investigation and Escape’s optional safe clue. Main mission interactions and endings checked against original recordings; Hired Gun helicopter-only wording in a different guide was rejected.
- Maka91Productions: Assassins Pacifist routeOctober 16 recording; route, door prompts, keypad input and Pacifist completion inspected at matched timestamps. Recruit route, not a claim about every difficulty.
- dkdynamite: Stranded original mission recordingOctober 16 Campaign Early Access recording, including the preceding crash and following briefing. Three-target briefing, bunker power and supplies, jammer panel, SAM defense and return scenes inspected at matched timestamps.
- Infinity Ward: MW4 launch patch notesOctober 21 official patch notes read October 23. Match-completion recording fix and October 20 DMZ first-match 0-XP display fix; no universal stats/reward recovery guarantee or new Campaign objective route announced.
Source material checked: . This is a source-check date.
Useful next reads
- Campaign length — A source-attributed eight-to-ten-hour estimate, the reviewer’s nine-hour run and how Stranded exploration and difficulty affect it.
- Stranded mission route — Complete Stranded’s bunker, jammer and SAM objectives, then return to Base Camp; code detours and the departure point are kept separate.
- Assassins stealth route — A checkpoint-by-checkpoint Assassins stealth route through the balcony, library, kitchen and garden, with door codes and detection recovery.
- Campaign completion rewards — Check the reward for each of MW4’s 16 missions, resolve the Kal/West/Park unlock-name conflict using recorded menus, and verify missing items in Multiplayer or DMZ.